1.- CUBO
import pygame
from pygame.locals import *

from OpenGL.GL import *
from OpenGL.GLU import *

verticies = (
    (1, -1, -1),
    (1, 1, -1),
    (-1, 0, -1),
    (0, 0, 1)
    )

edges = (
    (0,1),
    (1,2),
    (2,0),
    (3,0),
    (3,1),
    (3,2),
    )


def piramide():
    glBegin(GL_LINES)
    for edge in edges:
        for vertex in edge:
            glVertex3fv(verticies[vertex])
    glEnd()


def main():
    pygame.init()
    display = (800,600)
    pygame.display.set_mode(display, DOUBLEBUF|OPENGL)

    gluPerspective(45, (display[0]/display[1]), 0.1, 50.0)

    glTranslatef(0.0,0.0,-5)


    while True:
        for event in pygame.event.get():
            if event.type == pygame.QUIT:
                pygame.quit()
                quit()

        glRotatef(1, 3, 1, 1)
        glClear(GL_COLOR_BUFFER_BIT|GL_DEPTH_BUFFER_BIT)
        piramide()
        pygame.display.flip()
        pygame.time.wait(10)

main()
---------------------------------------------------------------------------------------------
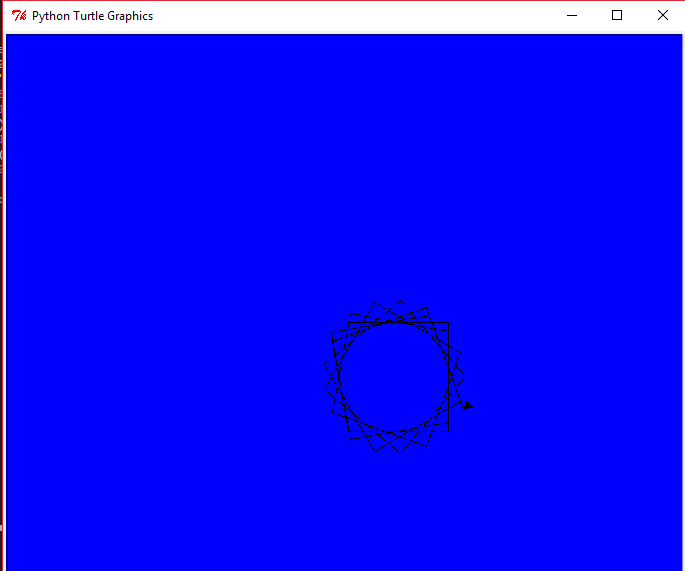
2.- PIRAMIDE
import pygame from pygame.locals import * from OpenGL.GL import * from OpenGL.GLU import * verticies = ( (1, -1, -1), (1, 1, -1), (-1, 0, -1), (0, 0, 1) ) edges = ( (0,1), (1,2), (2,0), (3,0), (3,1), (3,2), ) def piramide(): glBegin(GL_LINES) for edge in edges: for vertex in edge: glVertex3fv(verticies[vertex]) glEnd() def main(): pygame.init() display = (800,600) pygame.display.set_mode(display, DOUBLEBUF|OPENGL) gluPerspective(45, (display[0]/display[1]), 0.1, 50.0) glTranslatef(0.0,0.0,-5) while True: for event in pygame.event.get(): if event.type == pygame.QUIT: pygame.quit() quit() glRotatef(1, 3, 1, 1) glClear(GL_COLOR_BUFFER_BIT|GL_DEPTH_BUFFER_BIT) piramide() pygame.display.flip() pygame.time.wait(10) main()Estas Figuras Fueron realizadas por mi compañero Aquinoy este es su blog por si lo quieren ir a ver :http://eduardommm.blogspot.mx/
--------------------------------------------------------------------------------------------3.- Cubo De Coloresimport sys, math, pygame from operator import itemgetter class Point3D: def __init__(self, x=0, y=0, z=0): self.x, self.y, self.z = float(x), float(y), float(z) def rotateX(self, angle): """ Rotates the point around the X axis by the given angle in degrees. """ rad = angle * math.pi / 180 cosa = math.cos(rad) sina = math.sin(rad) y = self.y * cosa - self.z * sina z = self.y * sina + self.z * cosa return Point3D(self.x, y, z) def rotateY(self, angle): """ Rotates the point around the Y axis by the given angle in degrees. """ rad = angle * math.pi / 180 cosa = math.cos(rad) sina = math.sin(rad) z = self.z * cosa - self.x * sina x = self.z * sina + self.x * cosa return Point3D(x, self.y, z) def rotateZ(self, angle): """ Rotates the point around the Z axis by the given angle in degrees. """ rad = angle * math.pi / 180 cosa = math.cos(rad) sina = math.sin(rad) x = self.x * cosa - self.y * sina y = self.x * sina + self.y * cosa return Point3D(x, y, self.z) def project(self, win_width, win_height, fov, viewer_distance): """ Transforms this 3D point to 2D using a perspective projection. """ factor = fov / (viewer_distance + self.z) x = self.x * factor + win_width / 2 y = -self.y * factor + win_height / 2 return Point3D(x, y, self.z) class Simulation: def __init__(self, win_width=640, win_height=480): pygame.init() self.screen = pygame.display.set_mode((win_width, win_height)) pygame.display.set_caption("Figura de cubo 3D en python") self.clock = pygame.time.Clock() self.vertices = [ Point3D(-1, 1, -1), Point3D(1, 1, -1), Point3D(1, -1, -1), Point3D(-1, -1, -1), Point3D(-1, 1, 1), Point3D(1, 1, 1), Point3D(1, -1, 1), Point3D(-1, -1, 1) ] # Define the vertices that compose each of the 6 faces. These numbers are # indices to the vertices list defined above. self.faces = [(0, 1, 2, 3), (1, 5, 6, 2), (5, 4, 7, 6), (4, 0, 3, 7), (0, 4, 5, 1), (3, 2, 6, 7)] # Define colors for each face self.colors = [(255, 0, 255), (255, 0, 0), (0, 255, 0), (0, 0, 255), (0, 255, 255), (255, 255, 0)] self.angle = 0 def run(self): """ Main Loop """ while 1: for event in pygame.event.get(): if event.type == pygame.QUIT: pygame.quit() sys.exit() self.clock.tick(50) self.screen.fill((0, 32, 0)) # It will hold transformed vertices. t = [] for v in self.vertices: # Rotate the point around X axis, then around Y axis, and finally around Z axis. r = v.rotateX(self.angle).rotateY(self.angle).rotateZ(self.angle) # Transform the point from 3D to 2D p = r.project(self.screen.get_width(), self.screen.get_height(), 256, 4) # Put the point in the list of transformed vertices t.append(p) # Calculate the average Z values of each face. avg_z = [] i = 0 for f in self.faces: z = (t[f[0]].z + t[f[1]].z + t[f[2]].z + t[f[3]].z) / 4.0 avg_z.append([i, z]) i = i + 1 # Draw the faces using the Painter's algorithm: # Distant faces are drawn before the closer ones. for tmp in sorted(avg_z, key=itemgetter(1), reverse=True): face_index = tmp[0] f = self.faces[face_index] pointlist = [(t[f[0]].x, t[f[0]].y), (t[f[1]].x, t[f[1]].y), (t[f[1]].x, t[f[1]].y), (t[f[2]].x, t[f[2]].y), (t[f[2]].x, t[f[2]].y), (t[f[3]].x, t[f[3]].y), (t[f[3]].x, t[f[3]].y), (t[f[0]].x, t[f[0]].y)] pygame.draw.polygon(self.screen, self.colors[face_index], pointlist) self.angle += 1 pygame.display.flip() if __name__ == "__main__": Simulation().run()
Este programa fue realizado por el equipo de Gilberto,Edgar y Luis y aqui esta el link :
mendezitmg.blogspot.mx
---------------------------------------------------------------------------------------------4.- Gráfica De Barras
from mpl_toolkits.mplot3d import Axes3D import matplotlib.pyplot as plt import numpy as np fig = plt.figure() ax1 = fig.add_subplot(111, projection='3d') xpos = [1,2,3,4,5,6,7,8,9,10,11,12,13,14,15] ypos = [2,3,4,5,1,6,2,1,7,2,3,5,1,3,2] num_elements = len(xpos) zpos = [0,0,0,0,0,0,0,0,0,0,0,0,0,0,0] dx = np.ones(15) dy = np.ones(15) dz = [1,2,3,4,5,6,7,8,9,10,11,12,13,14,15] ax1.bar3d(xpos, ypos, zpos, dx, dy, dz, color='red') plt.show()Este programa fue realizado por Ivan Guzman:iscivanguz.blogspot.mx